Lean CLI
Research
Introduction
Starting local Jupyter Lab environments is a powerful feature of the Lean CLI. Jupyter Lab environments allow you to work on research notebooks locally. These environments contain the same features as QuantConnect's research environment but run on your local machine.
To use the CLI, you must be a member in an organization on a paid tier.
Start the Research Environment
You can run the Research Environment with your current configuration or an old configuration from QuantConnect.
Current Configuration
The default Research Environment configuration is the latest master branch of LEAN. If you set a different research image, the image you set is your current configuration. To start a local research environment with your current configuration, open a terminal in one of your organization workspaces and then run lean research "<projectName>" to start a local research environment for the project in . / <projectName> on port 8888.
$ lean research "My Project"
Starting JupyterLab, access in your browser at localhost:8888
JupyterLab automatically opens in your default browser. If you intend to use PyCharm or VS Code instead of JupyterLab, include the --no-open option to not open JupyterLab. To run the environment on a different port by providing the --port <port> option.
If your configuration is set to the master branch of LEAN, the CLI automatically checks if your image is behind master every seven days. If your image falls behind master, the CLI automatically updates your image to the lastest version. To force an update before the automatic check, add the --update option. To avoid updates, add the --no-update option.
Old Configurations from QuantConnect
Follow these steps to start a local Research Environment with an old research configuration from QuantConnect:
- View the available versions on the quantconnect/research Docker Hub tags page.
- Copy the name of the tag you want to run.
- Open a terminal in one of your organization workspaces.
- Run
lean research "<projectName>" --image quantconnect/research:<tagFromStep2>to start a local Research Environment for the project in . / <projectName>.$ lean research "My Project" --image quantconnect/research:11154 Pulling quantconnect/research:11154... 20210322 17:27:46.658 TRACE:: Engine.Main(): LEAN ALGORITHMIC TRADING ENGINE v2.5.0.0 Mode: DEBUG (64bit) 20210322 17:27:46.664 TRACE:: Engine.Main(): Started 5:27 PM
Data Providers
When you run the Research Environment, the default data provider is your local machine.
To use data from QuantConnect Cloud, a brokerage, or a third-party data provider, include the --data-provider-historical option.
To view what brokerages and third-party data providers are available, see the reference page for this command.
Use JypterLab
The following sections explain how to operate the Research Environment with JupyterLab, the default IDE.
Open Notebooks
Follow these steps to open a research notebook in JupyterLab:
- Start a local research environment for the project that contains the notebook.
- In the left navigation menu, click the
 File Browser icon.
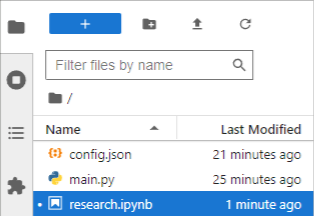
 - In the File Browser panel, double-click the notebook file you want to open.
The default notebook is research.ipynb.
For more information about opening files in JupyterLab, see Opening Files in the JupyterLab documentation.
Run Notebook Cells
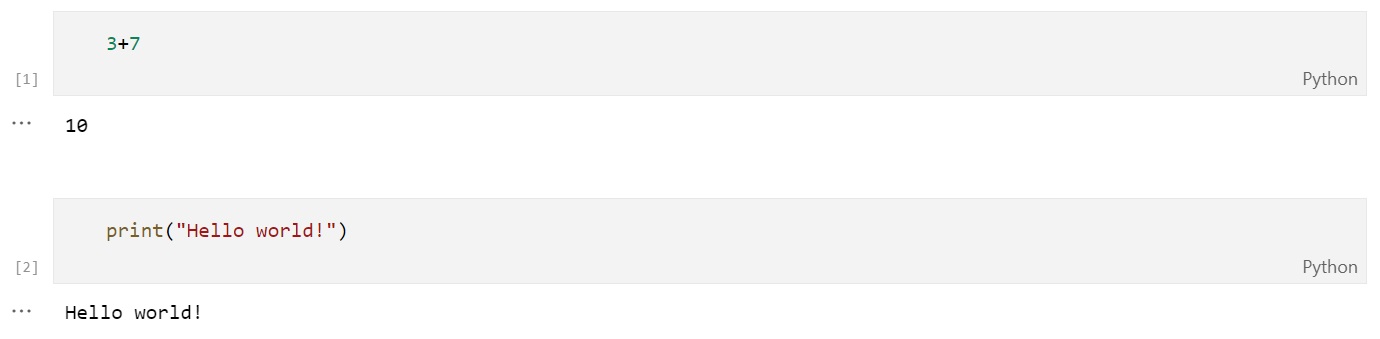
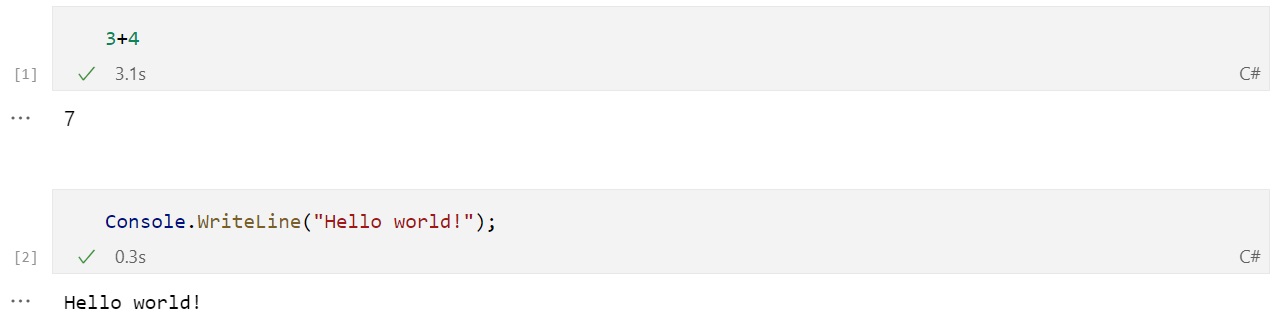
Notebooks are a collection of cells where you can write code snippets or MarkDown. To execute a cell, press Shift+Enter.
The following describes some helpful keyboard shortcuts to speed up your research:
| Keyboard Shortcut | Description |
|---|---|
| Shift+Enter | Run the selected cell. |
| a | Insert a cell above the selected cell. |
| b | Insert a cell below the selected cell. |
| x | Cut the selected cell. |
| v | Paste the copied or cut cell. |
| z | Undo cell actions. |
For more information about keyboard shortcuts in JupyterLab, see Keyboard Shortcuts in the JupyterLab documentation.
Stop Nodes
Follow these steps to stop a research node in JupyterLab:
- In the left navigation menu, click the
 Running Terminals and Kernels icon.
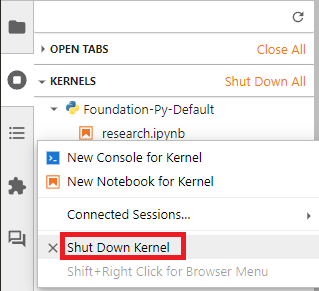
 - In the Kernals section of the Running Terminals and Kernels panel, right-click the name of the notebook file and then click from the drop-down menu.
For more information about the Running Terminals and Kernels panel in JupyterLab, see Managing Kernels and Terminals in the JupyterLab documentation.
Add Notebooks
Follow these steps to add notebook files to a project in JupyterLab:
- Start a local research environment for the project.
- In the top navigation menu, click .
- In the Select Kernel window, click .
For more information about the creating files in JupyterLab, see Creating Files and Activities in the JupyterLab documentation.
Rename Notebooks
Follow these steps to rename notebook files in JupyterLab:
- Start a local research environment for the project that contains the notebook.
- In the left navigation menu, click the File Browser icon.
- In the File Browser panel, right-click the notebook file you want to rename and then click from the drop-down menu.
- Enter the new name.
- Press Enter.
Delete Notebooks
Follow these steps to delete notebook files in JupyterLab:
- Start a local research environment for the project that contains the notebook.
- In the left navigation menu, click the File Browser icon.
- In the File Browser panel, right-click the notebook file you want to delete and then click from the drop-down menu.
- In the Delete window, click .
Use PyCharm
The following sections explain how to operate the Research Environment with PyCharm.
Open Notebooks
Follow these steps to open a research notebook in PyCharm:
- Start a local research environment for the project that contains the notebook.
- Open the same project in PyCharm.
- In the top navigation menu of PyCharm, click .
- In the Settings window, click .
- Click .
- Enter http://localhost:8888/?token= into the field.
- Click to save the changes.
- Click to exit the window.
- In the left navigation menu, click the
 Project icon.
 - In the Project panel, double-click the notebook file you want to open.
The default notebook is research.ipynb.
Run Notebook Cells
Notebooks are a collection of cells where you can write code snippets or MarkDown. To execute a cell, press Shift+Enter.
The following describes some helpful keyboard shortcuts to speed up your research:
| Keyboard Shortcut | Description |
|---|---|
| Shift+Enter | Run the selected cell. |
| a | Insert a cell above the selected cell. |
| b | Insert a cell below the selected cell. |
| x | Cut the selected cell. |
| v | Paste the copied or cut cell. |
| z | Undo cell actions. |
For more information about keyboard shortcuts in PyCharm, see Keyboard Shortcuts in the PyCharm documentation.
Stop Nodes
Follow these steps to stop a research node in PyCharm:
- In the left navigation menu, click the Project icon.
- In the Project panel, right-click the name of the notebook file and then click from the drop-down menu.
For more information about the Jupyter notebook servers in PyCharm, see Manage Jupyter notebook servers in the PyCharm documentation.
Add Notebooks
To add notebook files to a project in PyCharm, see Create a notebook file in the PyCharm documentation.
Rename Notebooks
Follow these steps to rename notebook files in PyCharm:
- Start a local research environment for the project in PyCharm.
- In the left navigation menu, click the Project icon.
- In the Project panel, right-click the notebook file you want to rename and then click from the drop-down menu.
- Enter the new name.
- Press Enter.
Delete Notebooks
Follow these steps to delete notebook files in PyCharm:
- Start a local research environment for the project in PyCharm.
- In the left navigation menu, click the Project icon.
- In the Project panel, right-click the notebook file you want to rename and then click from the drop-down menu.
- In the Delete window, click .
Use VS Code
The following sections explain how to operate the Research Environment with VS Code.
Open Notebooks
Follow these steps to open a research notebook in VS Code:
- Start a local research environment for the project that contains the notebook.
- Open the same project VS Code.
- In the Explore panel, click the notebook file you want to open.
- In the top-right corner of the notebook, click .
- In the Select Another Kernel window, click .
- Enter http://localhost:8888/ into the field.
- Press Enter.
- (Optional) Enter a display name for the server and then press Enter.
- Click .
The default notebook is research.ipynb.
Run Notebook Cells
Notebooks are a collection of cells where you can write code snippets or MarkDown. To execute a cell, press Shift+Enter.
The following describes some helpful keyboard shortcuts to speed up your research:
| Keyboard Shortcut | Description |
|---|---|
| Shift+Enter | Run the selected cell. |
| a | Insert a cell above the selected cell. |
| b | Insert a cell below the selected cell. |
| x | Cut the selected cell. |
| v | Paste the copied or cut cell. |
| z | Undo cell actions. |
For more information about keyboard shortcuts in VS Code, see Key Bindings for Visual Studio Code in the VS Code documentation.
Add Notebooks
Follow these steps to add notebook files to a project in VS Code:
- Open the project.
- In the right navigation menu, click the
 Explorer icon.
 - In the Explorer panel, expand the section.
- Click the
 New File icon.
 - Enter fileName.ipynb.
- Press Enter.
Rename Notebooks
Follow these steps to rename notebook files in VS Code:
- Start a local research environment for the project that contains the notebook.
- In the right navigation menu, click the Explorer icon.
- In the Explorer panel, expand the section.
- Click the New File icon.
- Enter fileName.ipynb.
- Press Enter.
Delete Notebooks
Follow these steps to delete notebook files in VS Code:
- Start a local research environment for the project that contains the notebook.
- In the right navigation menu, click the Explorer icon.
- In the Explorer panel, right-click the notebook you want to rename and then click .
- Enter the new name and then press .
Retrieving Local Backtests
Sometimes it might be useful to retrieve the results of a previously ran local backtest in the research environment. By default, backtests are saved in the <projectName> / backtests / <timestamp> directory, which is also available in the research environment. You can use the following code snippet to read the contents of a backtest's result file into a local variable and to print its statistics (make sure to replace the path to the backtest with your own):
using Newtonsoft.Json;
using QuantConnect.Packets;

var backtestPath = "backtests/2021-03-03_23-46-43/CSharpProject.json";

var json = File.ReadAllText(backtestPath);
var data = JsonConvert.DeserializeObject<BacktestResultParameters>(json);

foreach (var item in data.Statistics) {
    Console.WriteLine($"{item.Key}: {item.Value}");
}
import json
backtest_path = "backtests/2021-03-03_01-57-38/main.json"
with open(backtest_path) as file:
data = json.load(file)
for key, value in data["Statistics"].items():
print(f"{key}: {value}")
Retrieving Cloud Backtests
If you are logged in using lean login you can also retrieve cloud backtest results in your local research environment.
If you know the name of the project and the backtest you can use the following code snippet to retrieve the backtest's results and to print its statistics:
var projectName = "Python Template";
var backtestName = "Adaptable Tan Frog";

var project = api.ListProjects().Projects.First(p => p.Name == projectName);
var partialBacktest = api.ListBacktests(project.ProjectId).Backtests.First(b => b.Name == backtestName);
var backtest = api.ReadBacktest(project.ProjectId, partialBacktest.BacktestId);

foreach (var item in backtest.Statistics) {
    Console.WriteLine($"{item.Key}: {item.Value}");
}
project_name = "Python Template"
backtest_name = "Adaptable Tan Frog"
project = next(p for p in api.list_projects().projects if p.name == project_name)
partial_backtest = next(b for b in api.list_backtests(project.project_id).backtests if b.name == backtest_name)
backtest = api.read_backtest(project.project_id, partial_backtest.backtest_id)
for key in backtest.statistics.keys:
print(f"{key}: {backtest.statistics[key]}")
You can also see our Videos. You can also get in touch with us via Discord.
Did you find this page helpful?